How to Install LED Sign (Complete Step-by-Step Guide for Outdoor Use)
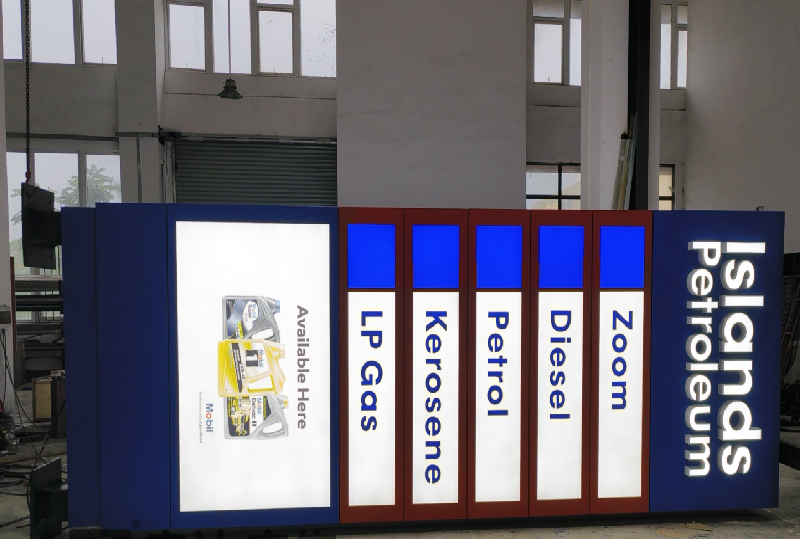
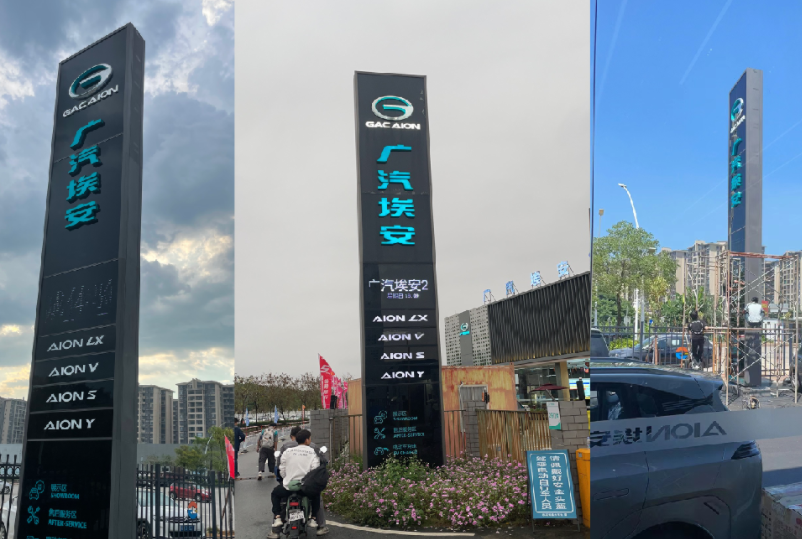
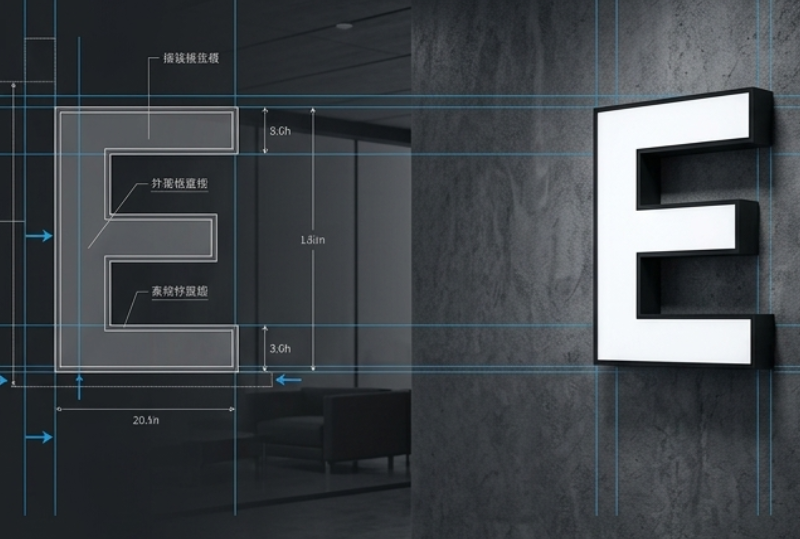
Applicable Signs: Acrylic LED letters, stainless steel illuminated letters, full-channel seamless LED signs (pull-through luminous signs), frontlit & backlit commercial storefront signs
Industry Compliance Standard: NEC Article 600 (US), UL 48 Sign Safety Standard, EU CE & IP65 Waterproof Rating, International Commercial Sign Wind Load Specification
Average Service Life Data: Professional installation improves outdoor LED sign lifespan from 2–3 years to 6–8 years and reduces circuit failure rate by 92% (Global Commercial Sign Industry Installation Report 2025)
1. Pre-Installation Preparation & Site Requirements
Proper pre-installation inspection is the foundation of stable long-term operation for outdoor LED signs, especially for acrylic, stainless steel and seamless pull-through luminous signs with different shell structures.
1.1 Wall Substrate Requirements
All outdoor luminous signs must be installed on load-bearing walls: concrete walls, brick walls, solid steel structures. Hollow walls, thin decorative cladding or non-load-bearing gypsum walls require additional 5mm steel backing plates for reinforcement to avoid sign falling off under wind pressure.
1.2 Environmental & Safety Standards
- Wind resistance: Standard installation adapts to 130–150 mph (209–241 km/h) wind speed, suitable for most European and American urban and coastal areas
- Safety clearance: The bottom of the sign is at least 8ft above the sidewalk, complying with US local building codes
- Weather condition: Do not construct in heavy rain, strong wind or low-temperature freezing weather to prevent water ingress and unstable anchor fixation
1.3 General Tools & Accessories
Laser level, impact drill, masonry drill bit, stainless steel expansion bolts (wedge anchors), self-tapping screws, UV-resistant waterproof silicone sealant, 12V/24V UL-certified LED power supply, waterproof wiring connectors, torque wrench
2. Universal Installation Principle for All LED Luminous Signs
The keyhole slot mounting method is the most mainstream and authoritative installation process for European and American commercial luminous signs (applicable to acrylic luminous letters, stainless steel luminous letters, pull-through integrated luminous signs). This method features firm fixation, convenient later maintenance, good waterproof performance and no damage to the sign shell.
Core process logic (industry mandatory standard): Disassemble sign shell → Fix bottom shell independently → Electrical pre-test lighting → Lock side fixing screws → Overall waterproof sealing
3. Detailed Step-by-Step Installation Guide
Step 1: Disassemble the Sign Shell (Targeted Operation for Different Materials)
Different types of LED signs have slightly different disassembly methods, unified to separate the bottom mounting shell and the luminous face shell to avoid scratching the luminous surface during installation:
- Acrylic luminous letters: Snap-on structure, gently pry the edge gap to separate the face shell and bottom shell, avoid excessive force to crack the acrylic panel
- Stainless steel luminous letters: Hidden side screw fixation, remove the anti-rust decorative screws to separate the shell, protect the stainless steel mirror/brushed surface from abrasion
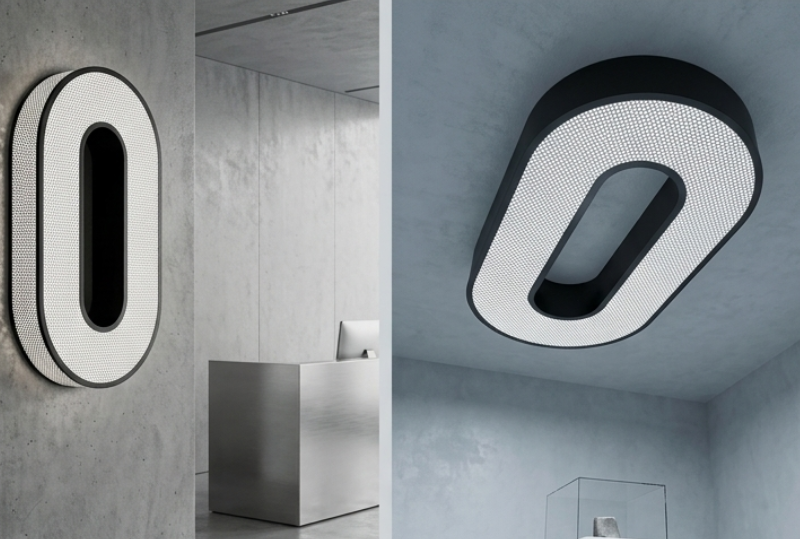
- Pull-through seamless luminous signs: Integrated hollow shell structure, integral split disassembly, ensure the internal LED light strip and wiring are intact without pulling
Step 2: Positioning Drilling & Fixing Bottom Shell
All outdoor luminous sign bottom shells are pre-opened with keyhole mounting slots (standard configuration for export signs).
- Paste the official mounting template on the wall, calibrate horizontal and vertical flatness with a laser level to ensure neat overall alignment of the sign
- Mark the keyhole center position and wire outlet hole position, drill standard holes with an impact drill, and clean up wall dust completely (dust residue will reduce anchor firmness by 40%)
- Use stainless steel explosion-proof pull bolts (expansion anchors) to fix the bottom shell on the wall. The bolt embedding depth is not less than 3cm, and the torque is locked to 15–18 ft-lbs to ensure the bottom shell is firm and load-bearing
- Reserve wire holes for internal power lines to facilitate subsequent wiring and power connection
Step 3: Pre-Lighting Test (Critical Step to Avoid Post-Installation Maintenance)
This is the most critical inspection step required by European and American sign safety standards. Do not fix the face shell before the lighting test is qualified.
- Temporarily connect the built-in LED light strip of the sign to the professional low-voltage LED power supply
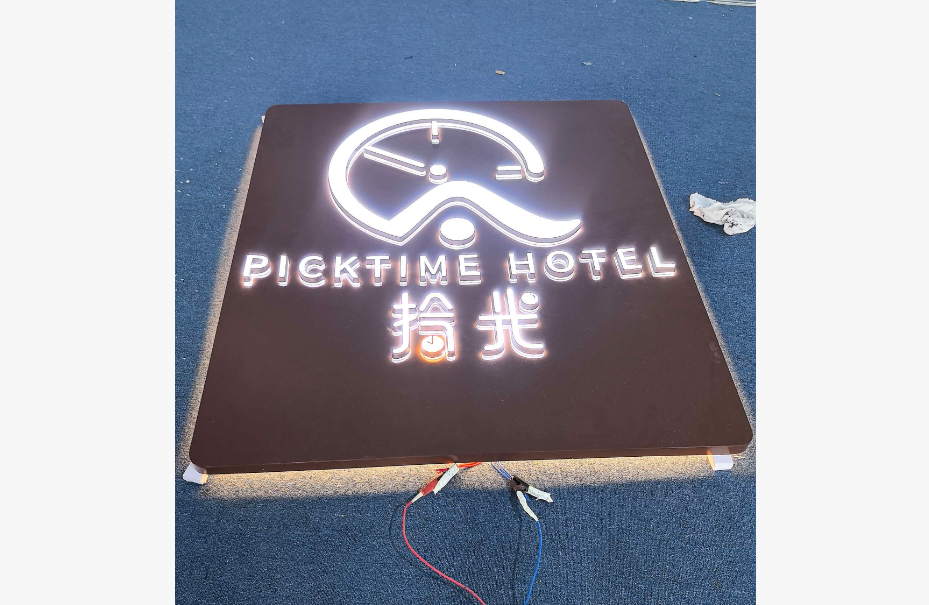
- Power on for full brightness test: check for no dark areas, no flicker, no local dimming, and uniform overall luminescence
- Confirm that all lamp beads and circuit lines work normally, eliminate hidden dangers of poor contact and circuit damage
- Industry data: 78% of post-installation sign failures are caused by skipping the pre-lighting test and directly sealing the shell, leading to unrepairable internal circuit faults.
Step 4: Fix Face Shell & Side Sealing Screws
After the lighting test is 100% qualified, carry out the overall fixing operation:
- Align the luminous face shell (acrylic/stainless steel/pull-through integrated shell) with the fixed bottom shell and snap it in place
- Use anti-rust stainless steel self-tapping screws to fix the side gaps of the sign. The screw spacing is controlled within 30cm to ensure uniform stress and firm overall fitting
- All side screws are locked tightly to prevent the sign from loosening and water seepage caused by long-term wind vibration
Step 5: Professional Wiring & Waterproof Sealing
- Wire the sign power line through the reserved wire hole, use IP67 waterproof connectors for all wiring joints, and avoid exposed circuits
- Match UL/CE certified dedicated LED constant voltage power supply, place the power supply in a waterproof box or indoor hidden position to avoid outdoor sun and rain erosion
- Fill the gaps around the sign, screw holes and wall joints with full-circle UV-resistant waterproof silicone sealant to achieve an overall IP65 waterproof level
- Key point: Complete sealing can effectively avoid rainwater infiltration, and solve the problem of lamp bead damage and circuit short circuit caused by water ingress (the primary cause of outdoor luminous sign damage).
4. Post-Installation Inspection & Acceptance Standard
- Flatness: Overall error of sign installation ≤2mm, neat alignment, no skew
- Firmness: No looseness or shaking under external wind force, anchor pull-out resistance ≥2 times the sign weight
- Luminescence: Uniform brightness, no flicker, no dark corners, stable circuit operation
- Waterproof: No gaps in the overall seal, meeting outdoor long-term weather resistance requirements
5. Adaptability of Different LED Sign Types
- Acrylic LED Signs: Light weight, pay attention to anti-cracking during installation, suitable for shopping malls, retail stores, office building doorheads
- Stainless Steel Luminous Signs: High hardness and strong weather resistance, focus on anti-rust fixation of screws, suitable for high-end commercial streets, hotels, catering stores
- Pull-Through Seamless LED Signs: Integrated luminous effect, no dark gaps, strict waterproof sealing is required, suitable for large outdoor billboards and brand doorhead signs
6. Professional After-Installation Maintenance Tips
Under standard installation and daily maintenance, the service life of outdoor LED luminous signs can reach 6–8 years. It is recommended to check the waterproof seal and circuit stability every 6 months, and clean the surface dust regularly to ensure stable luminous effect.